This post may contain affiliate links, but all opinions are my own. Please read my disclosure policy for more information.
The Cricut Maker is amazing. Just AMAZING! I’ll be honest, it took me almost 6 months to finally start really experimenting with everything it can do! I was so nervous I was going to break it or that I would waste my materials because I didn’t know what I was doing! But after a lot of research, fails, and experiments, I am finally creating some fun and beautiful crafts! I am in no way a Cricut expert yet, but I hope to be very soon.
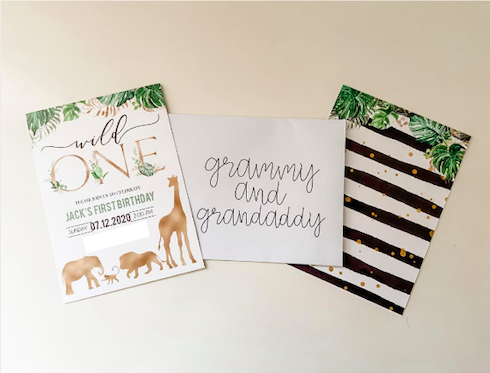
I’m currently creating décor for my sweet Jack’s first birthday party! How in the world is my precious baby boy one?!? I’m having so much fun planning “Jack’s Wild One” and my Cricut is really saving me so much money on décor!
For today’s project, I’m showing you how to create beautifully handwritten envelopes with your Cricut Maker! I found these ADORABLE invitations on Etsy and I want the envelopes to look just as precious. I have been practicing my calligraphy, but it would take me DAYS to finish these envelopes! Thanks to my Cricut Maker, I can work on other party décor projects while my Cricut Maker addresses my envelopes for me!
Ready to get started with your Cricut? Here is what you will need:
- Blue LightGrip Mat
- Envelopes
- Cricut Pen (I used the one that came with the Maker for this project)
Step 1
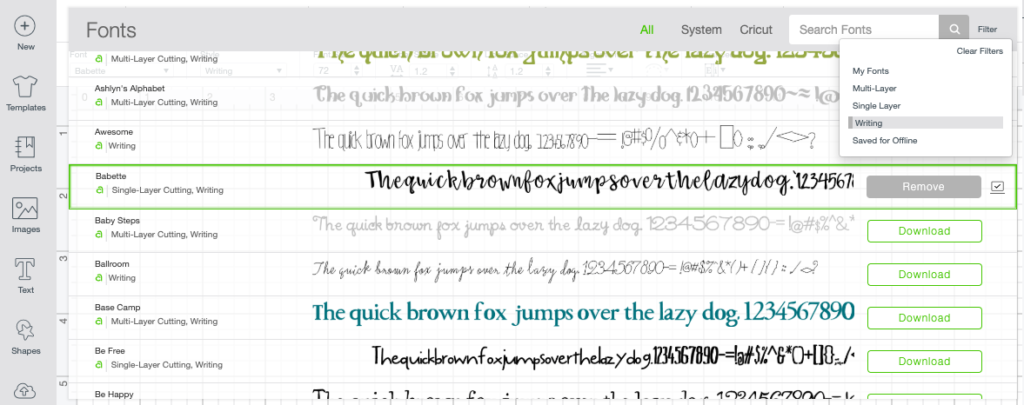
Open Cricut Design Space and start a new project. Open a text box. Select “Writing” under the style box at the top of Design Space.
Select the dropdown under font and filter the fonts to only show you the writing fonts. This will display all font options that will write with your Cricut Maker. For this tutorial, I’m using the Babette font.
Step 2
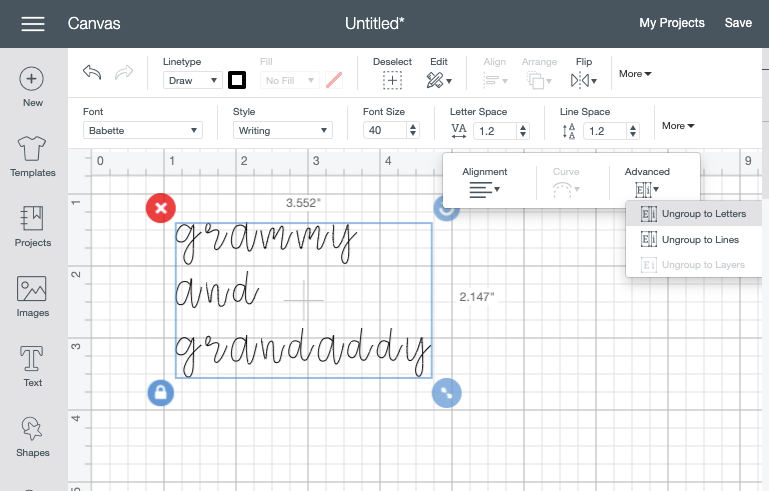
In the text box, type out the sender’s name and address or just their name if you are hand delivering your invitations. Select the text box and select more from the tool bar, advanced, and ungroup to letters. This will allow you to connect each letter to together. Just drag and attach until you like the way each word looks. Once you like how the name and/or address looks, select all words and click “attach” in the bottom right corner. If you would like the return address to show in the top left corner, take the same steps and create a separate text box.
Step 3
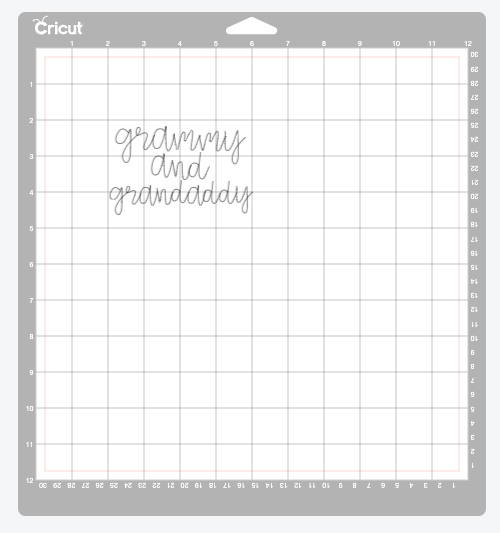
Place your envelope on the blue mat and determine where you want your text on the envelope. For me, I wanted the name and address to be between the 2” and 5” mark in the center of the envelope and the return address to show in the very top left corner. Use the grid to size the text to show between the 2” and 5” mark. Once you have the correct size, select Make It!
Move your text on the mat example exactly where you want it to write on the envelope. Click continue and select Copy Paper for your material. Place your envelope in the top right corner of your grid and press the flashing “load” button on your Cricut. Once it is loaded press the Cricut symbol to start making! You are done! How easy was that? Now just repeat for each new address.
What are some of your favorite fonts for writing with your Cricut?