
This post may contain affiliate links, but all opinions are my own. Please read my disclosure policy for more information.
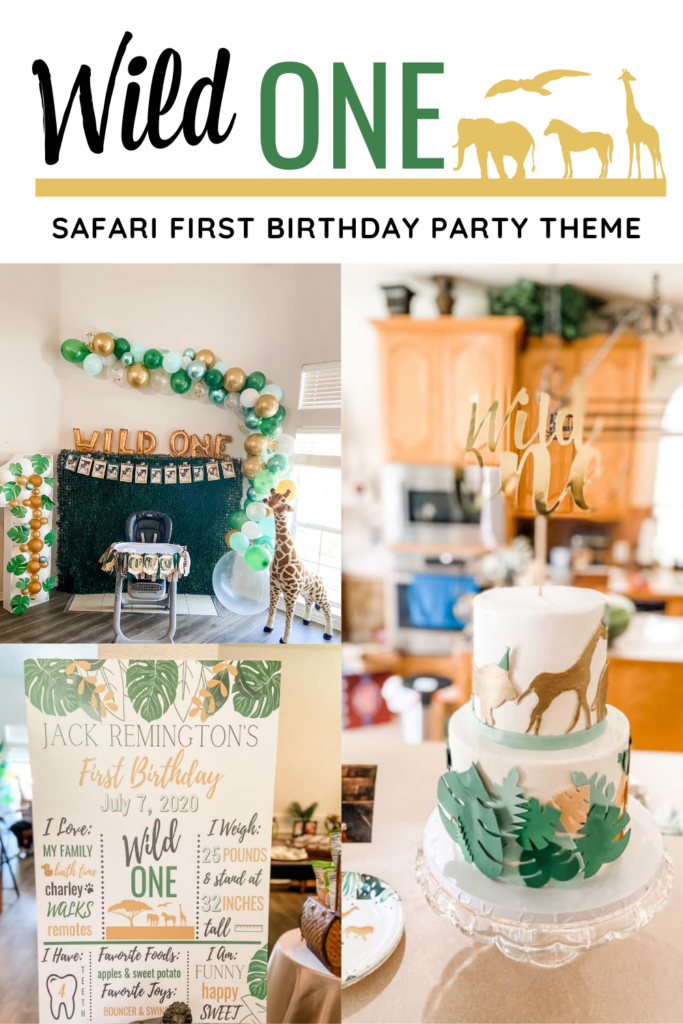
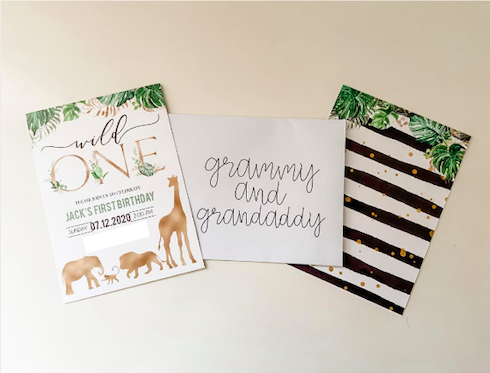
My sweet guy turned one this summer and I still can’t believe it. How is he already ONE?!?! As I was thinking of a theme for his first birthday party, I kept going back to his sweet safari decor in his nursery. So naturally, Jack’s Wild One made total sense!
Balloon Arch
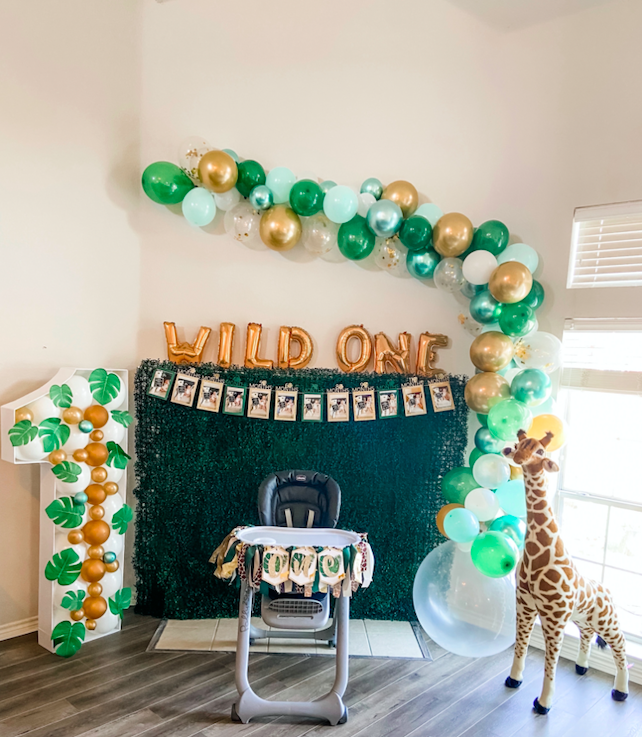
I am really into balloon walls and arches these days. My rockstar of a husband is my muscle behind these projects and he is seriously such a trooper for inflating and hanging all of these balloons! You can buy balloon kits on Amazon or pick out your own balloons. If you are going to do a balloon arch, I highly recommend purchasing a balloon pump!
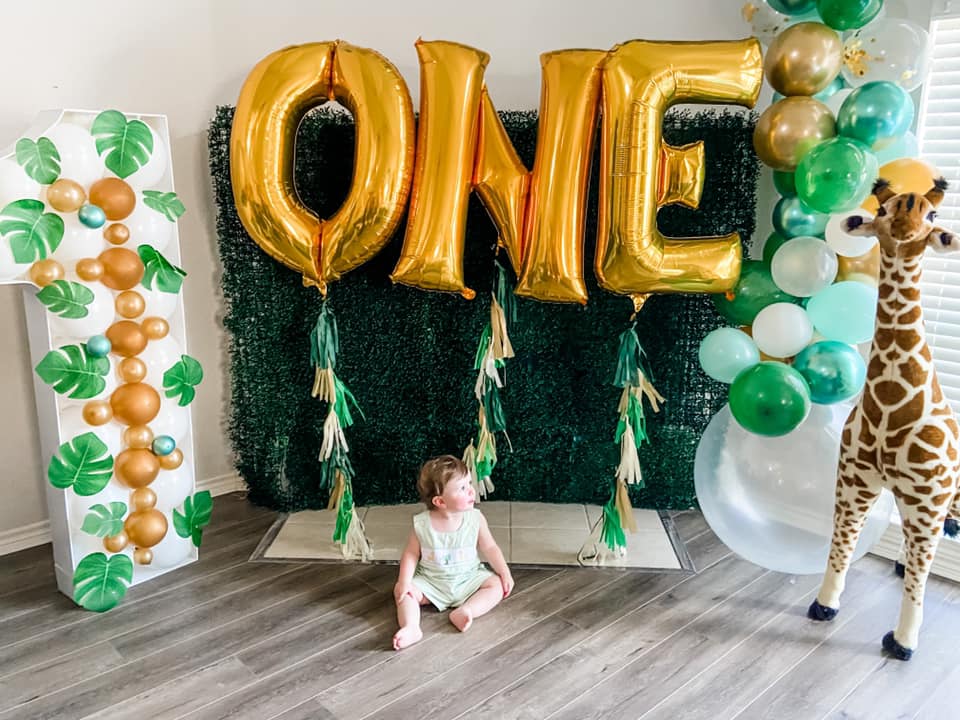
Greenery Backdrop and Wild One Balloons
I purchased these greenery panels from tableclothsfactory.com, spray painted them, and attached them with zip ties to create the size I wanted for my backdrop. Honestly, it was completely worth the money and effort to have this look. It made the perfect backdrop for the decor and photos. However, if you aren’t wanting to spend a little less time and money, check out these adorable and very realistic greenery backdrops!
I found these adorable WILD ONE balloons in copper on Etsy! I absolutely LOVED the color!
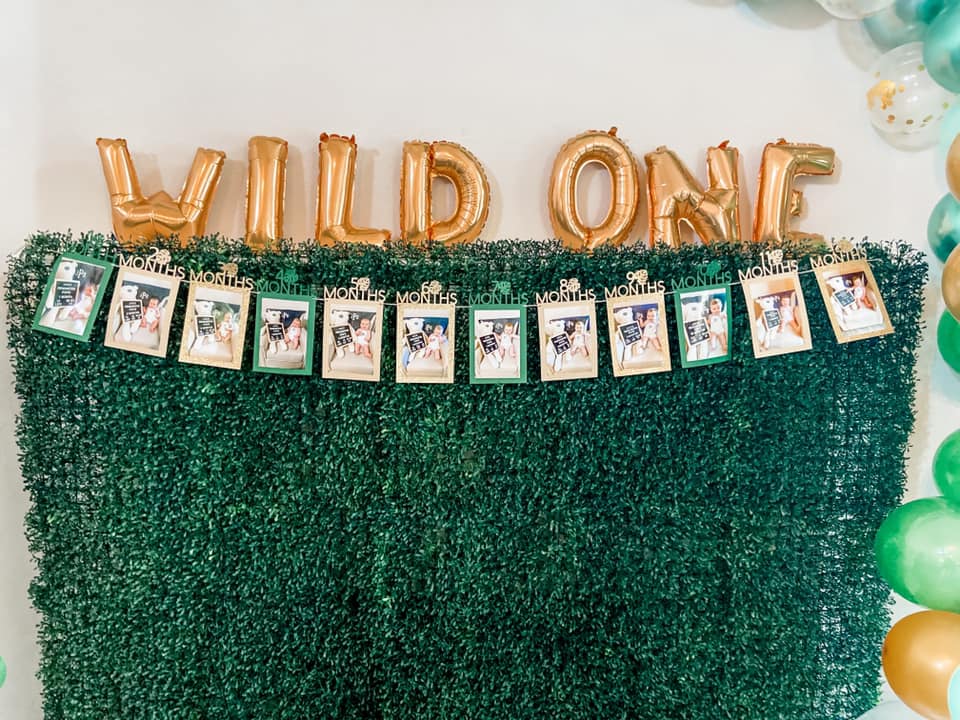
Monthly Milestone Banner
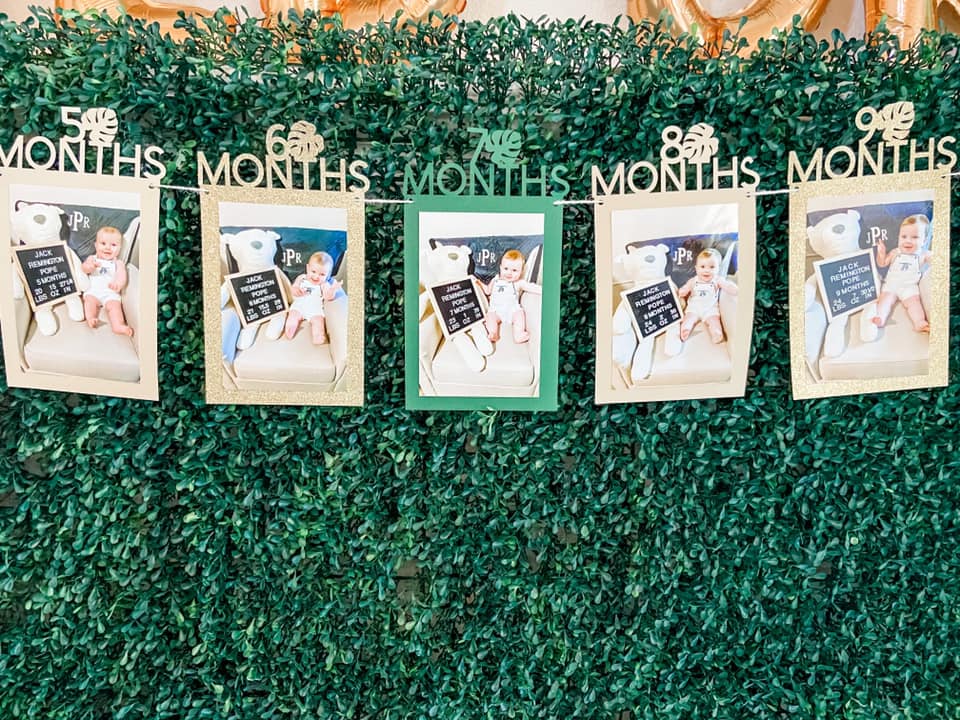
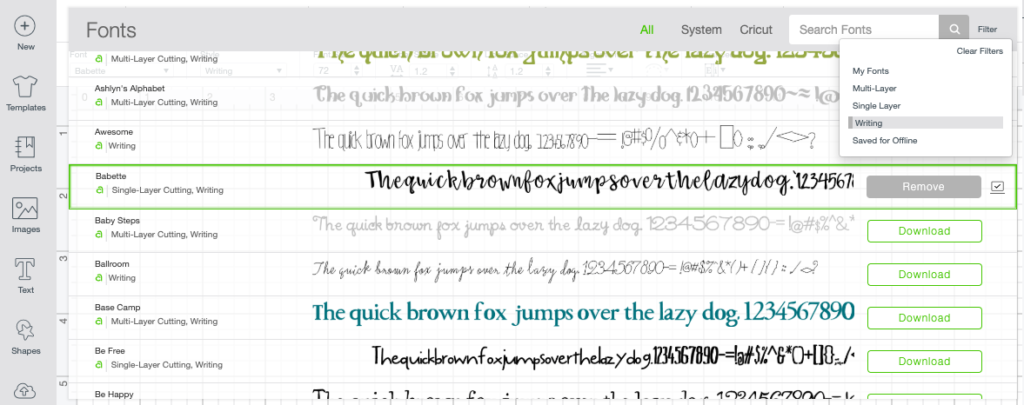
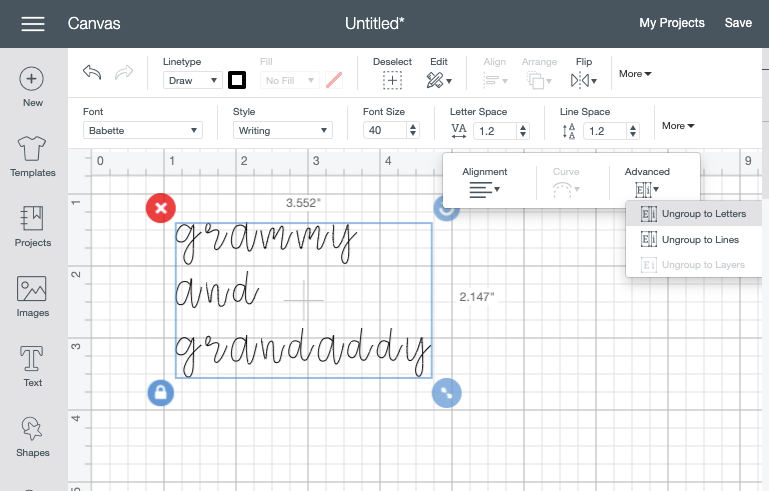
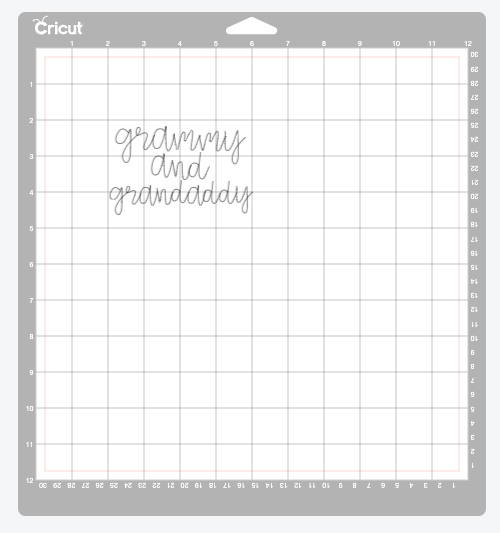
I LOVE these sweet banners! It is so fun to see how much my sweet guy has changed in just 12 months! I made this banner with my Cricut, but you can also purchase these on Etsy. Also, if you don’t have a Cricut Maker, but love making crafts, I highly recommend the investment. I saved SO much money on this party by making my own decor! I was also able to customize everything and create exactly what I was envisioning for the party.
Giant Balloon ONE
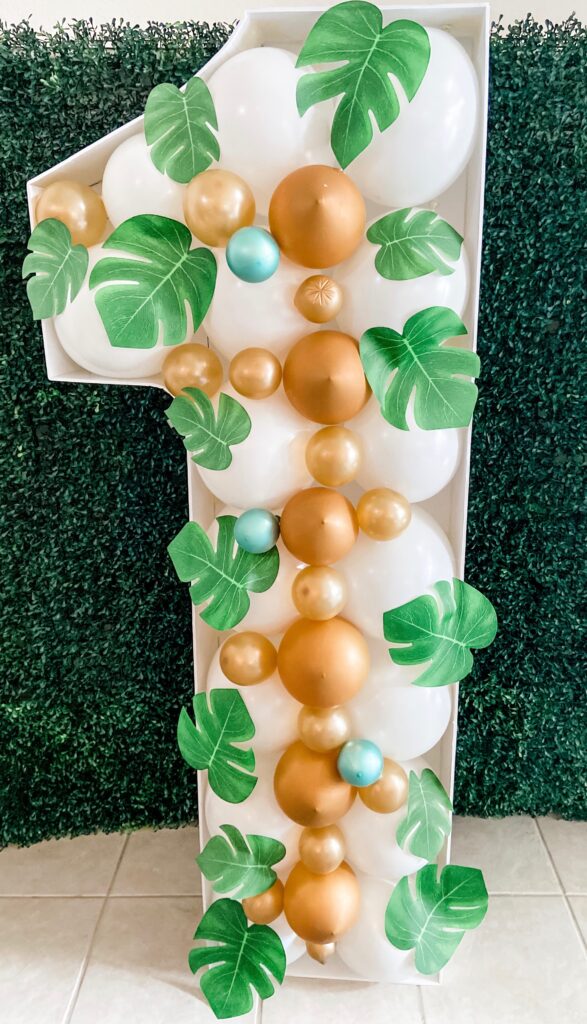
I first saw this idea on Pinterest (of course) and immediately texted it to my Jeremy, my rockstar of a husband. We bought two pieces of the 40 x 60 foam board from Hobby Lobby. I printed out the style of 1 I liked and Jeremy measured the foam board and cut it with an Exacto Knife. We then used hot glue to attach the sides of the one. Thankfully, the foam board bends really easily so that you can shape the letter. It is such a great statement piece and makes for a great photoshoot!
Sally The Giraffe
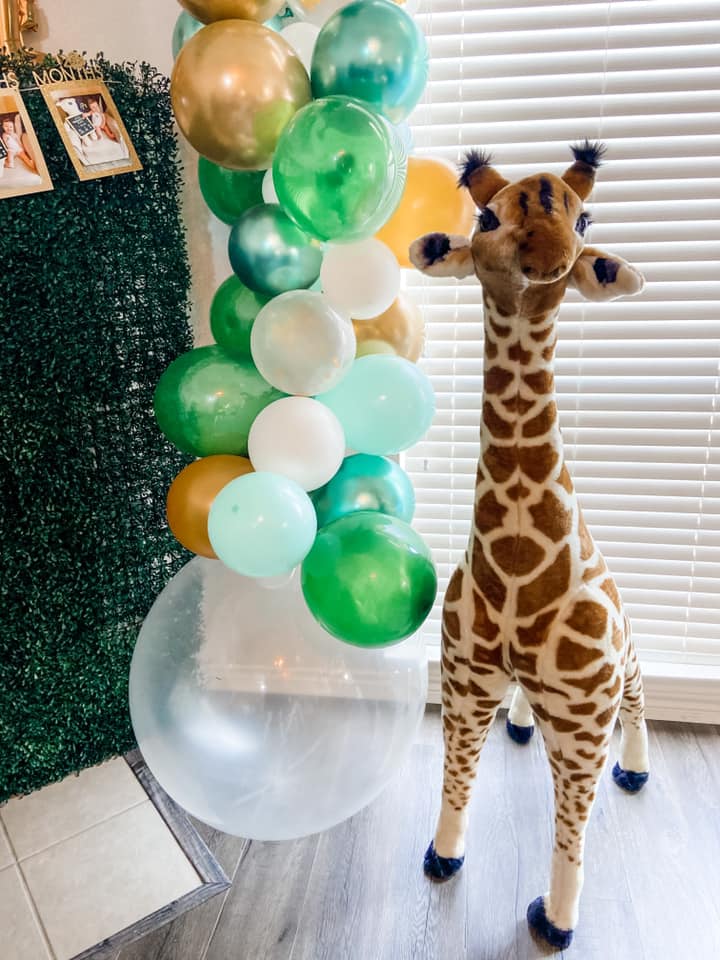
We just love Sally! My parents bought this as a “welcome home” gift when we brought Jack home from the hospital. She lives in Jack’s nursery, but was happy to be part of the decor for the party. You can purchase your own plush giraffe by Melissa and Doug on Amazon!
Safari Highchair Garland and One Banner
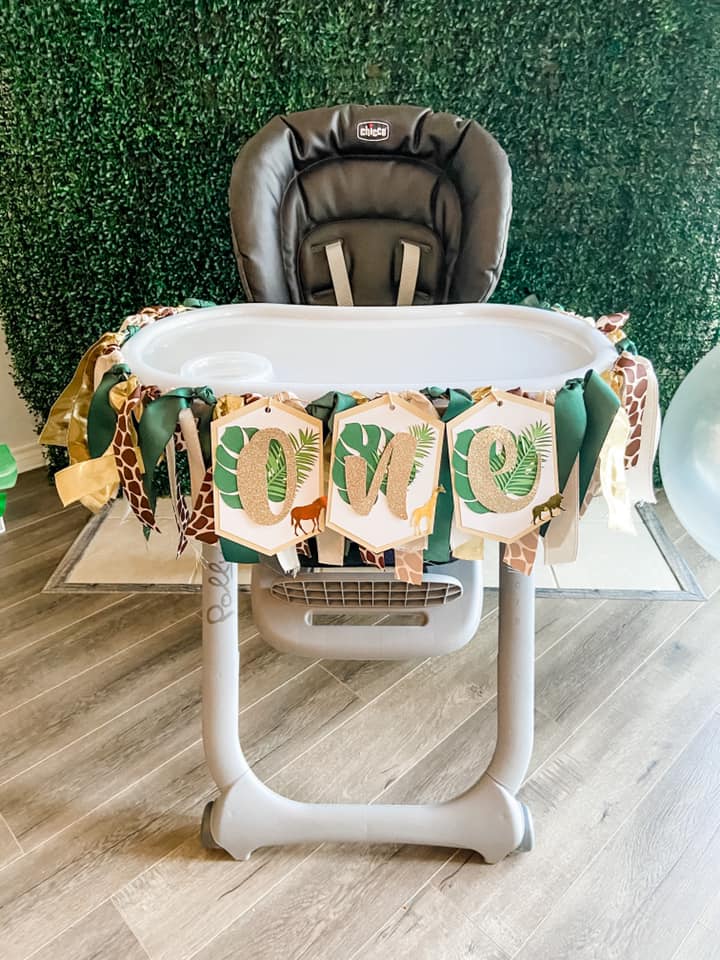
This was honestly so easy to make! I purchased ribbon and tied it on string to create the hassle garland. I created the ONE banner on my Cricut Maker machine and attached it to the garland. This was one of my favorite pieces for the party!
Safari Themed Cake and Smash Cake
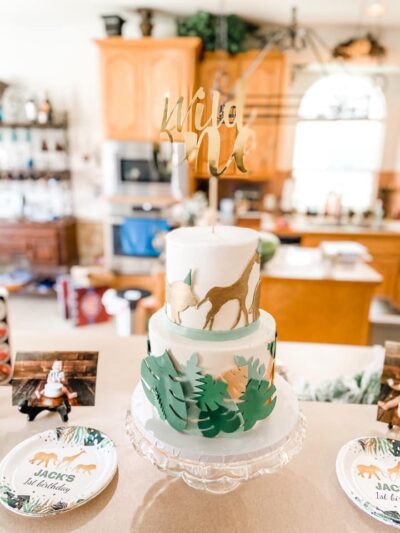
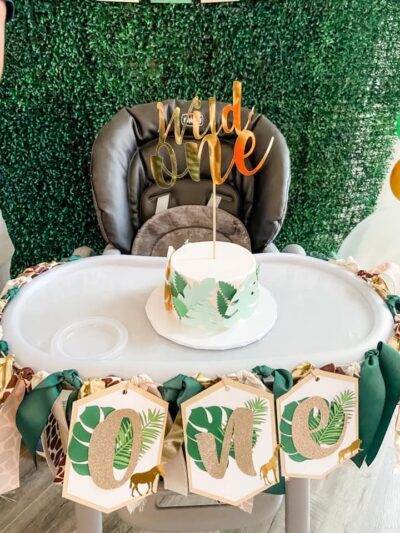
I just adore this cake design from Sugar Bee Sweets Bakery in Arlington, Texas! For all my local DFW friends, I highly recommend this bakery! I sent them ideas of what I wanted and they created this perfect cake and smash cake! I made the Wild One cake topper with, yes you guessed it, my Cricut Maker!
Safari Tassel Garland
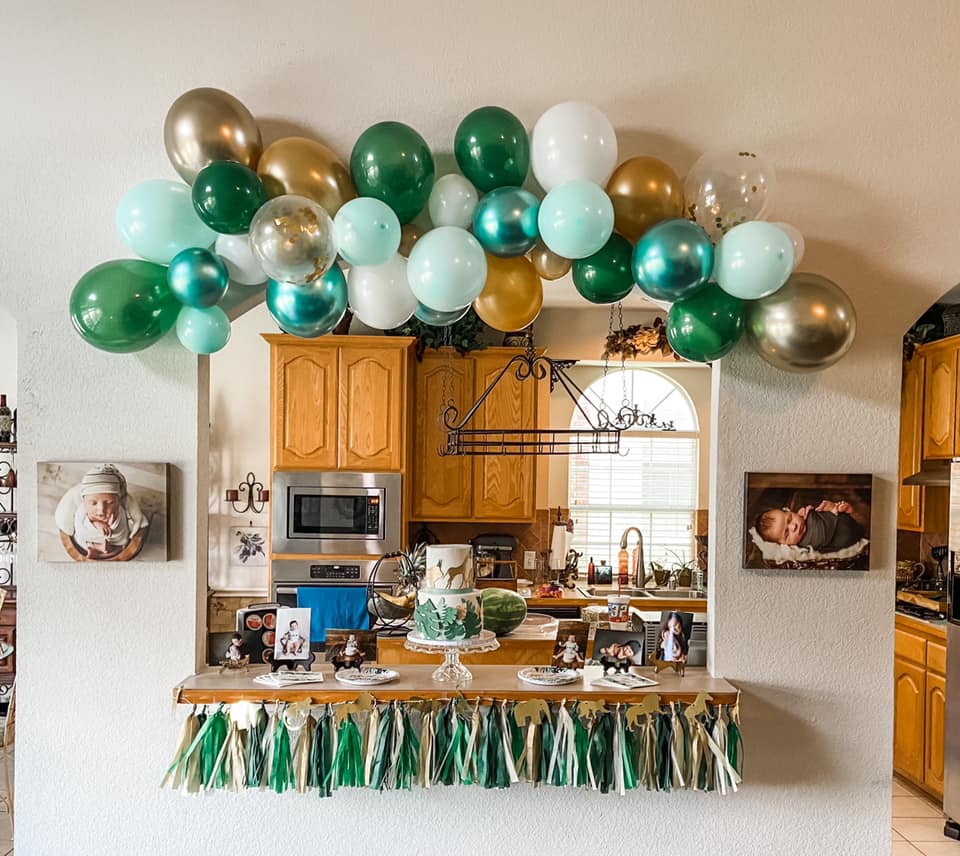
For this garland, I created and printed the safari animals on my Cricut Maker and made the tassels out of tissue paper.
Jack’s Wild One Safari Birthday Plates and Napkins
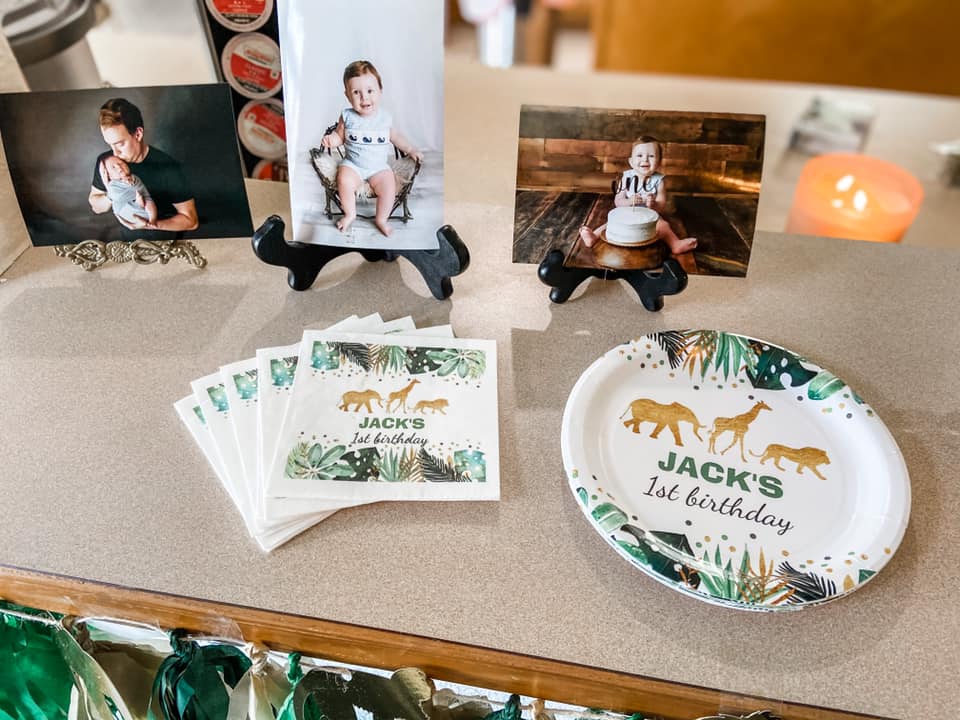
These adorable custom first birthday safari plates and napkins are on Zazzle. If you don’t need them customized, check out this super cute party pack!
Safari Themed Wild One Birthday Cookies
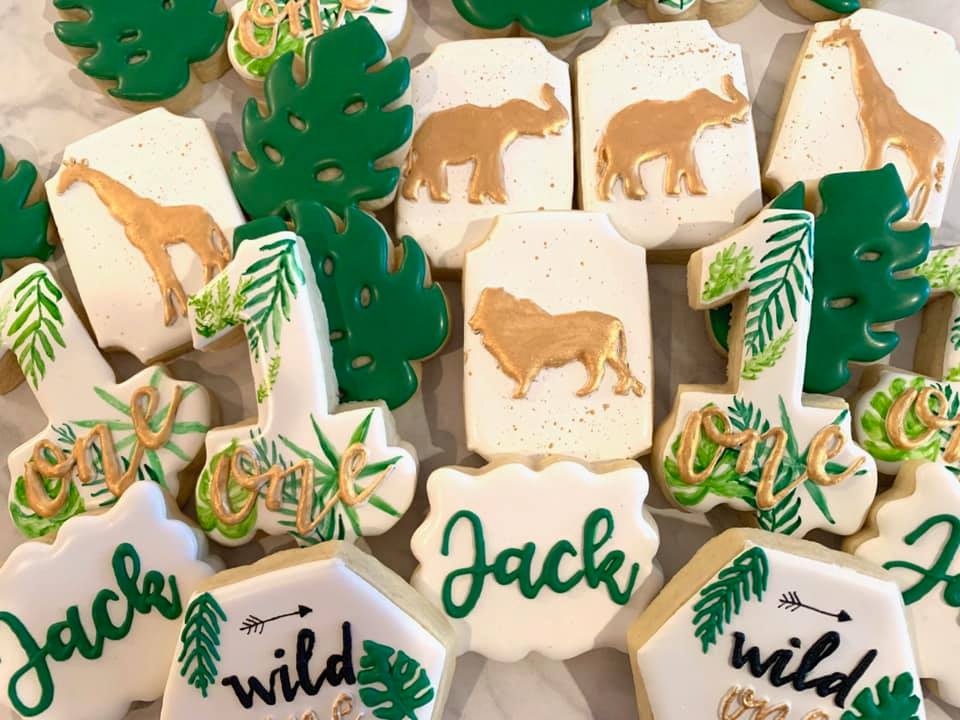
For all my DFW friends, The Velvet Crumb created these gorgeous cookies! I highly recommend!
First Birthday Milestone Sign
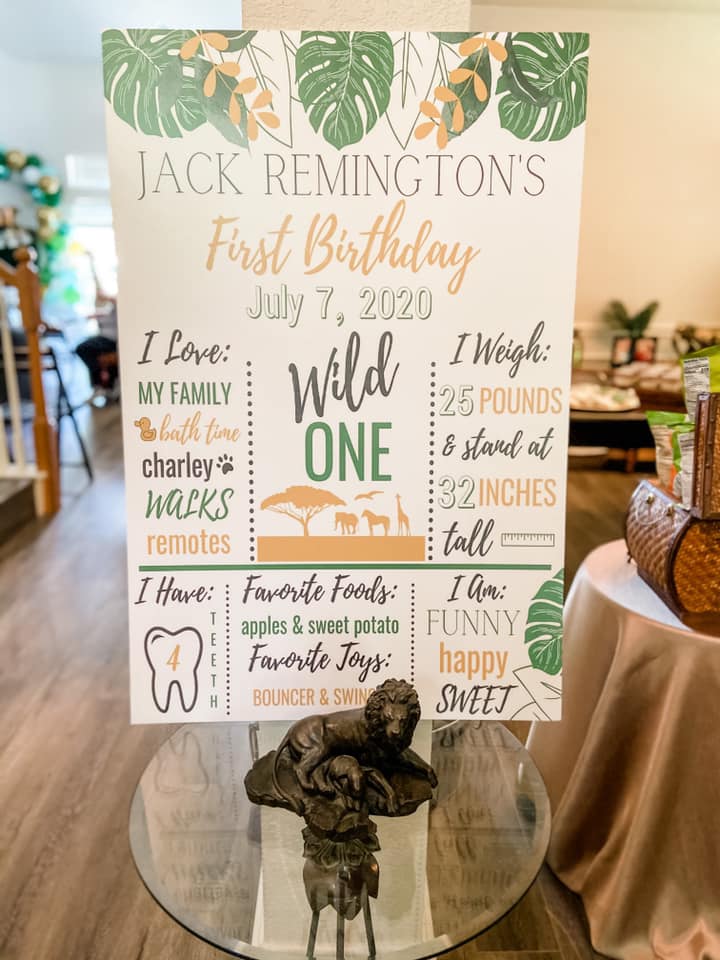
I designed this in Canva and had it printed at our local print shop for about $40. It made such a fun statement piece for the party!
Time Capsule Activity and Sign
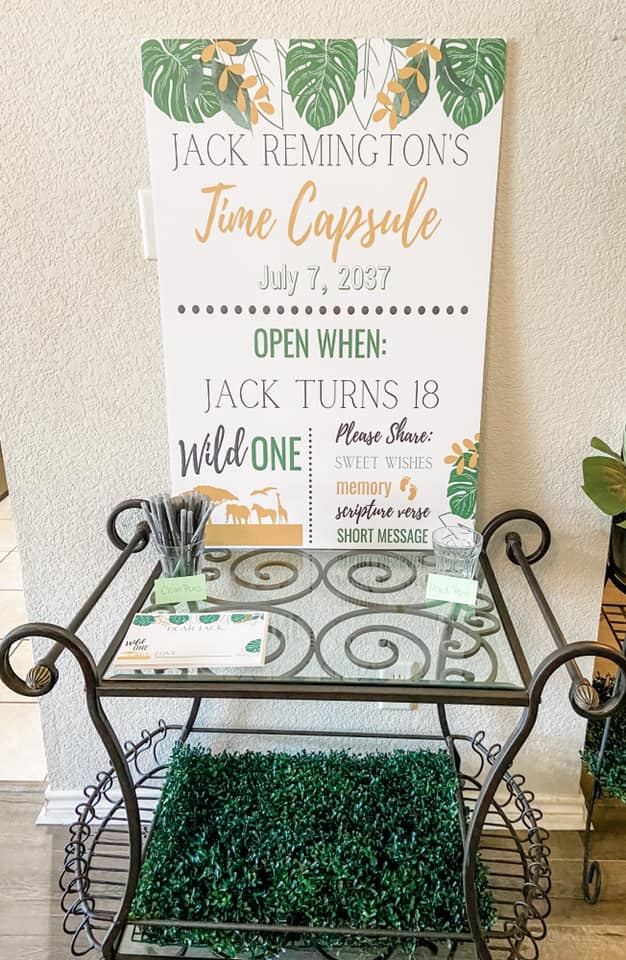
I think this is such a fun and sweet activity for a first birthday party! Since Jack won’t remember the actual party, this is such a fun way to show him how many people were at his party to celebrate him and who love and support him! I made the sign in Canva and had it printed at a local print shop.
ONE Balloons With Tassel Garland
I purchased these balloons from Party City and added tassels (the same one form the tissue paper tassel garland) down the string of the balloons. They were SO cute!
Safari Stuffed Animals “Adopt Me”
This was such a fun activity for the kiddos to “adopt” a safari friend! I found these adorable safari stuffed animal party favors on Amazon for SUCH a great price!
Safari Party Headbands
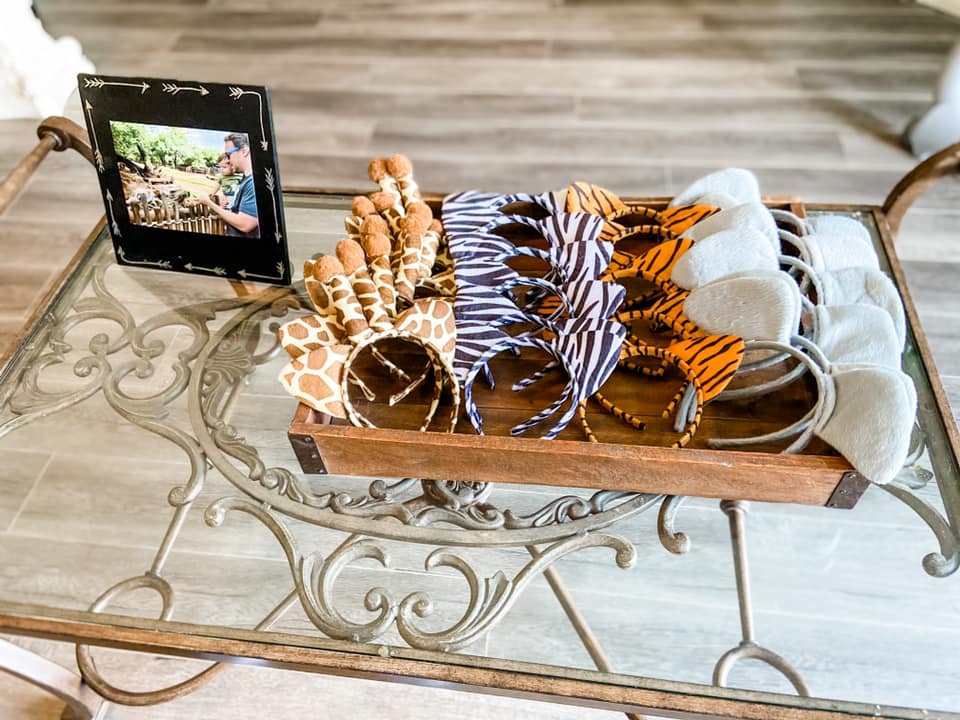
These safari party headbands were so fun for the kiddos AND the adults! They looked so cute in all of our photos and added a really fun interactive and whimsical element to the party.
Wild One Safari Water Bottle Labels
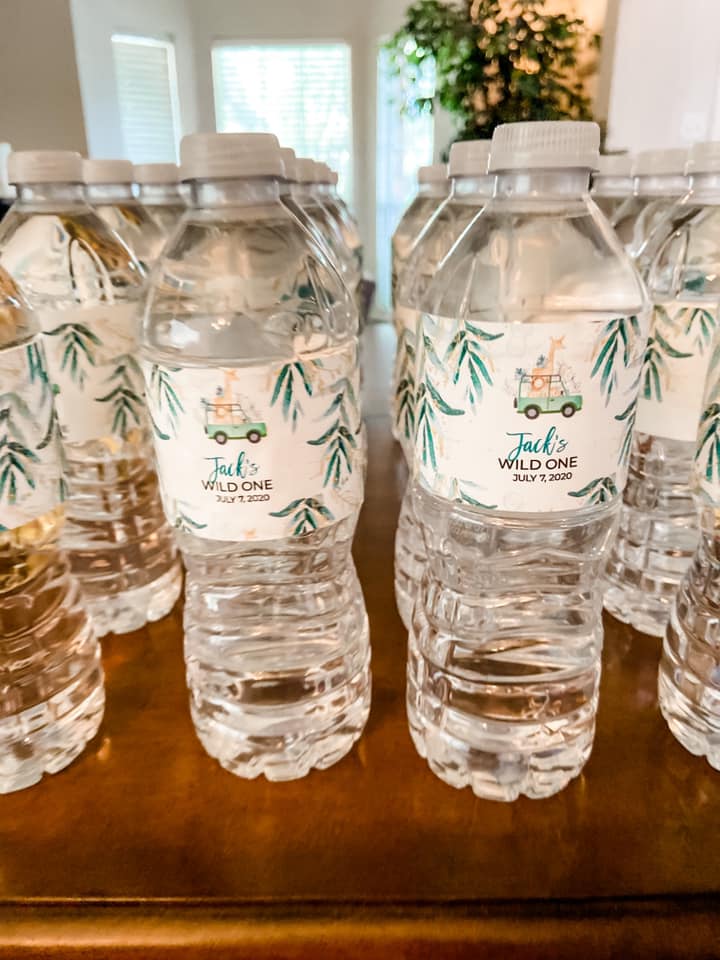
This is such an easy and inexpensive touch to help keep the theme going throughout the party. I purchased this cute design on Etsy and used labels to print them at home.
Safari Animal Cookie Jar Party Favors
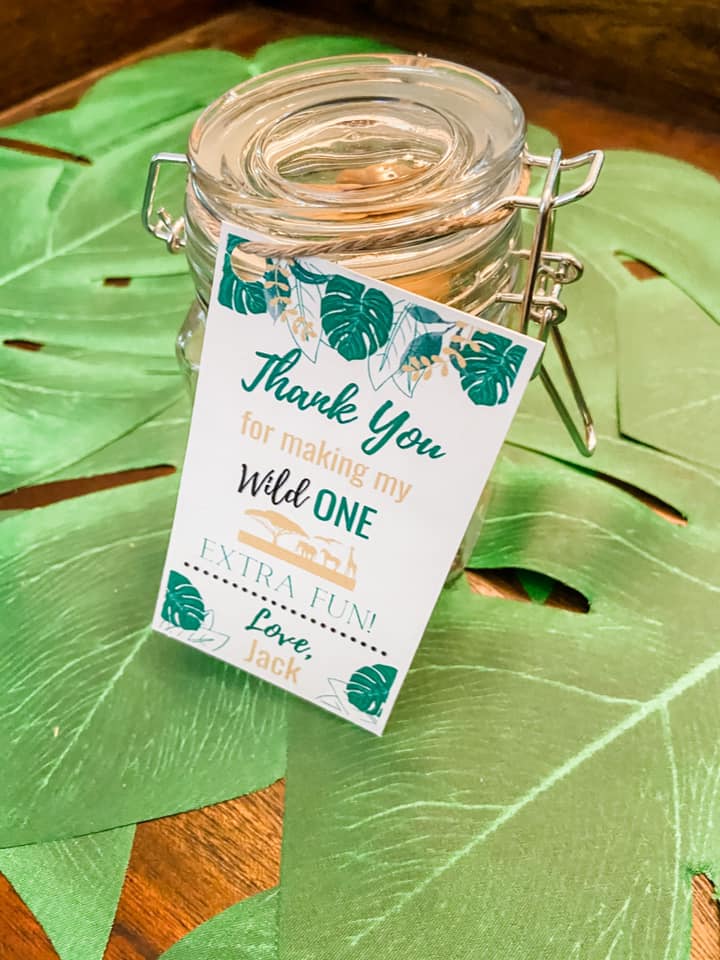
I found these cute jars at Marshalls and filled them with Safari animal crackers I found at Costco. I made the thank you tags on Canva and printed them on my printer at home.
Lion Veggie Plate
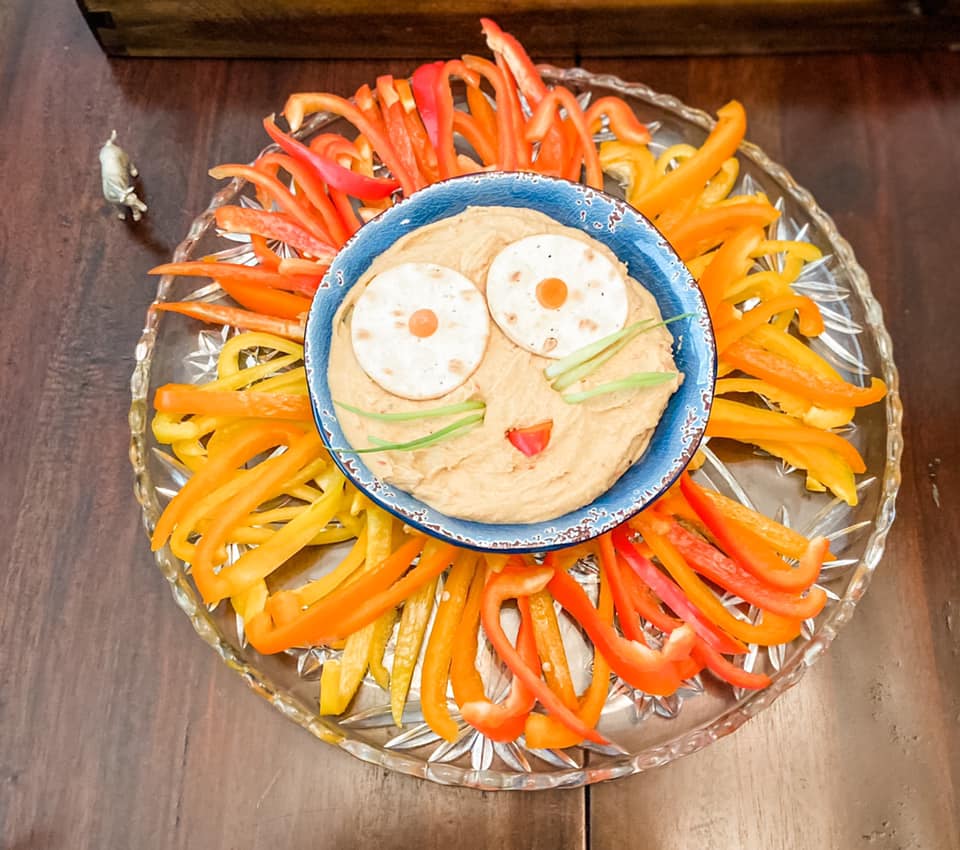
I had SO much fun planning and decorating for this party! I hope this post brings inspiration for an extra fun and Wild ONE for your little one!