Happy fall, friends! Boy did we have a full weekend of fall fun! We went to a pumpkin patch and corn maze (full blog review on that adventure coming tomorrow), tested out a few new fall recipes, and we carved pumpkins! Carving pumpkins is super therapeutic. You get your hands super messy, cut and carve, and pat yourself on the back when you are finished creating this beautiful pumpkin! This is something the hubs and I have always enjoyed doing together. We like to make it a full date day. We go to a pumpkin patch, pick out a pumpkin, have a fall themed meal, and carve our pumpkins while watching football! For all of my Frog fans out there, TCU is 6-0 and currently ranked #4! Go Frogs! Okay, back to pumpkins.
Let’s Get Carving!
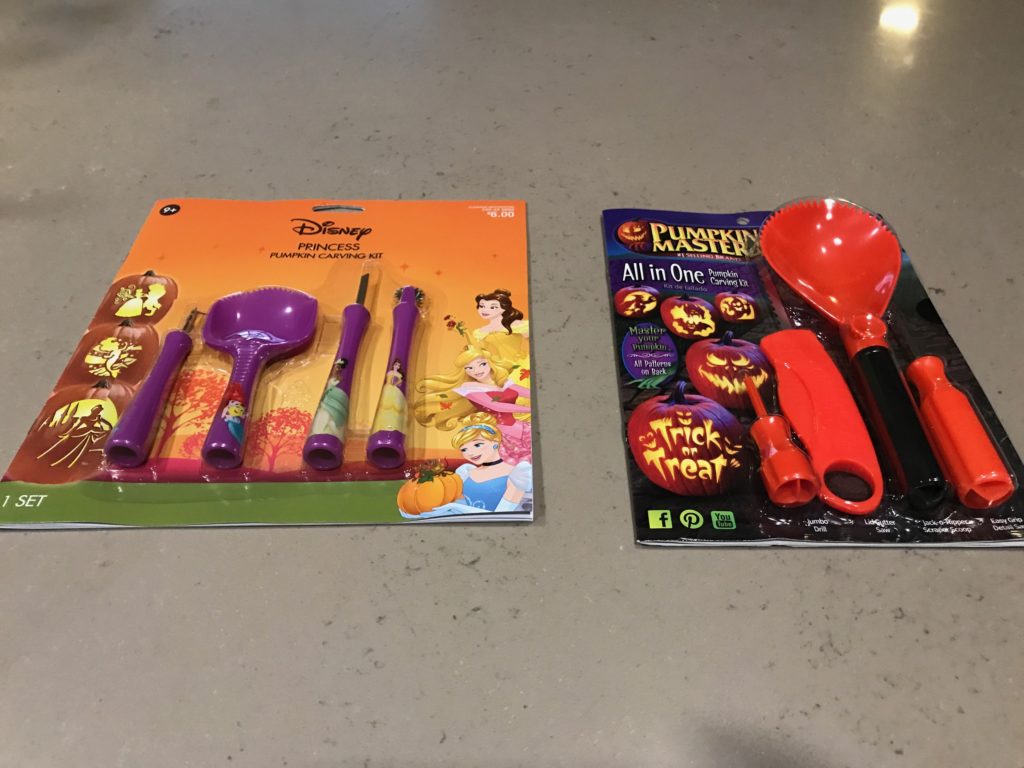
A couple of years ago, we found these delightful pumpkin carving kits at Target. Depending on the theme, there are six different pages with designs and four carving tools. The instructions are super easy and they actually work! Oh, did I mention that these are for 9 years and up? Carving pumpkins is not easy, friends. I will take all the help I can get! These kits are perfect for a date day, but they are also very kid friendly and will be great for a family pumpkin carving session. With that said, mom and dad, you will definitely want to help. The patterns are super helpful, but it is still difficult.
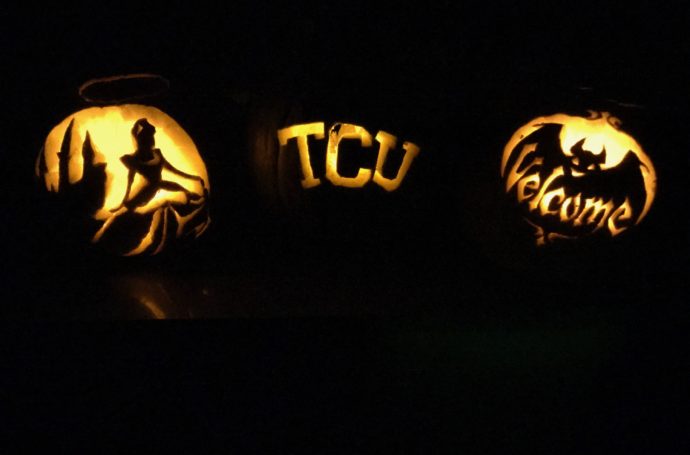
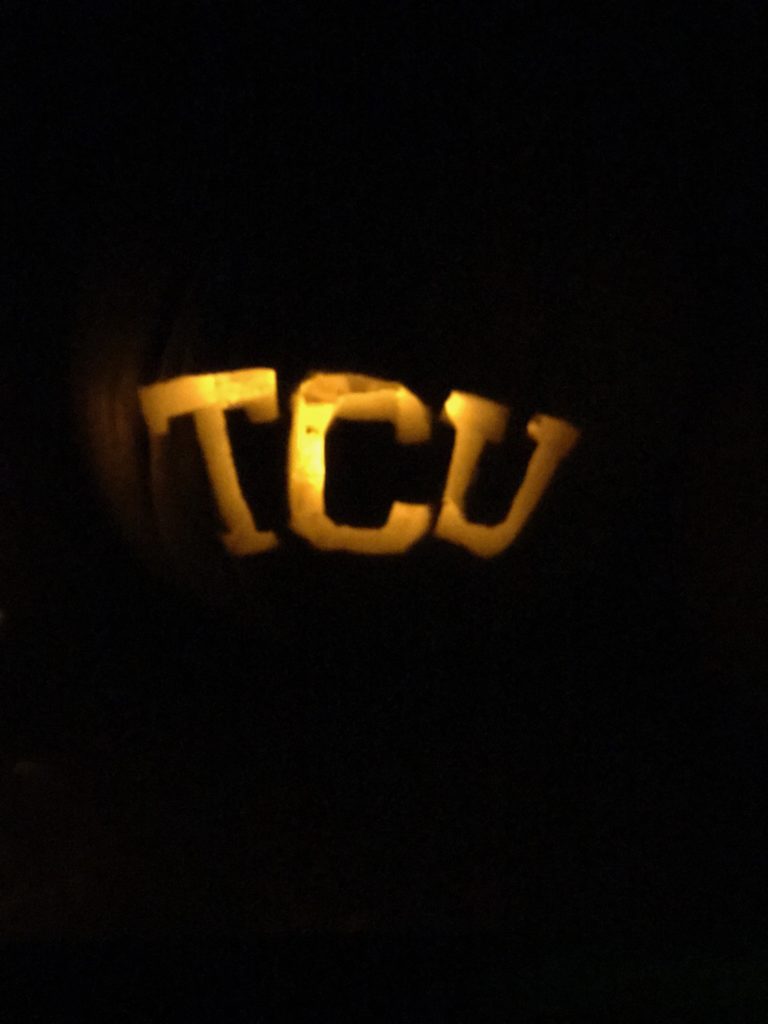
The whole concept is also really helpful to create your own patterns! Just print out what you want and use the tools and instructions in the kit to carve your design! We always have a TCU pumpkin each year, so Jeremy did a quick TCU carving. I think he did a lovely job!
This year, I chose Disney Princesses and Jeremy chose a fun pumpkin Halloween theme. We also saw a Star Wars theme, Paw Patrol theme, and Justice League theme. They had the Avengers and Spider-Man last year, but we didn’t see them this year. Each kit is between $4 and $6! They have 6 total designs that you can continue to use with your tools! This is a steal and you can save it to use again next year! After you clean out your pumpkin, tape your design to the pumpkin and use one of the tools to punch holes along the pattern. From here, I would suggest using a marker to draw the design pattern from the holes on the pumpkin. This will help you keep track and not just see a bunch of dots on your pumpkin! I started out doing the Beauty and the Beast them, but I didn’t draw it out after I punched my holes and I totally messed it up.

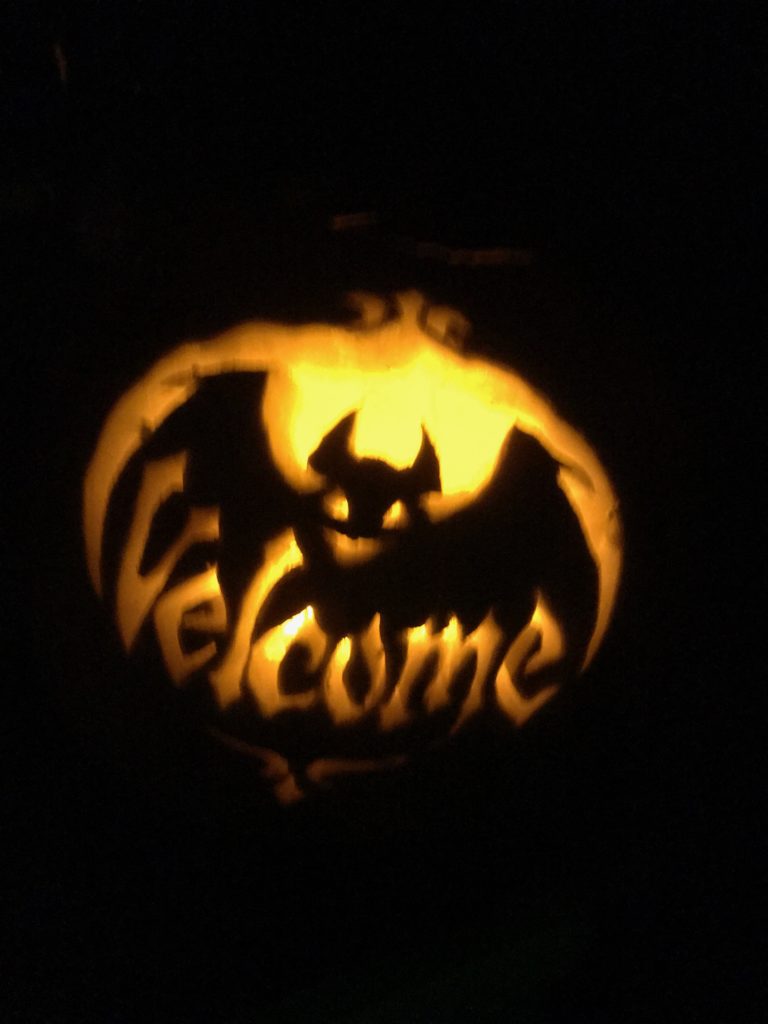
Final Pumpkins!
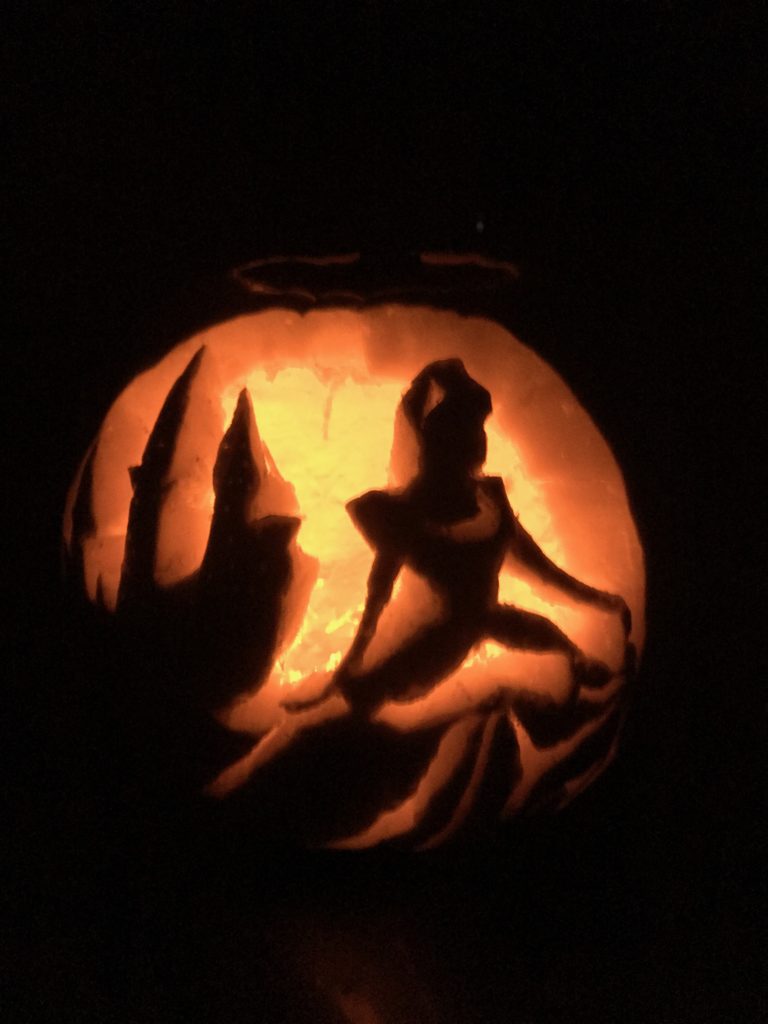
I decided to attempt the Cinderella theme instead and that went much more smoothly! Jeremy did a very convincing bat theme and I feel that it is just very “velcoming” on our patio.
We had so much fun carving out pumpkins and we are pretty proud of how they turned out! Which one is your favorite? If you pick Jeremy’s, I promise you won’t hurt my feelings… ha! Have you carved a pumpkin yet this year? Happy fall, y’all!