This post may contain affiliate links, but all opinions are my own. Please read my disclosure policy for more information.
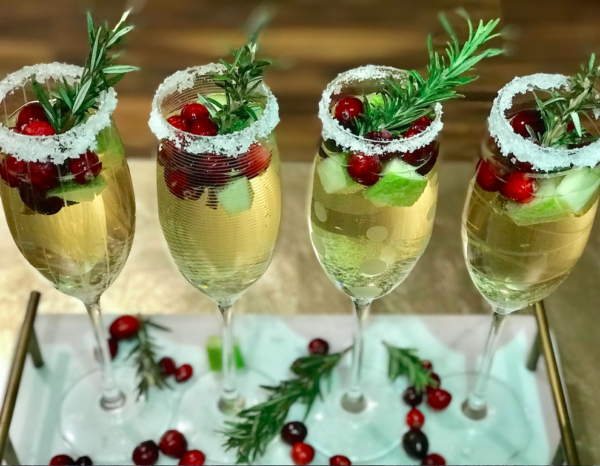
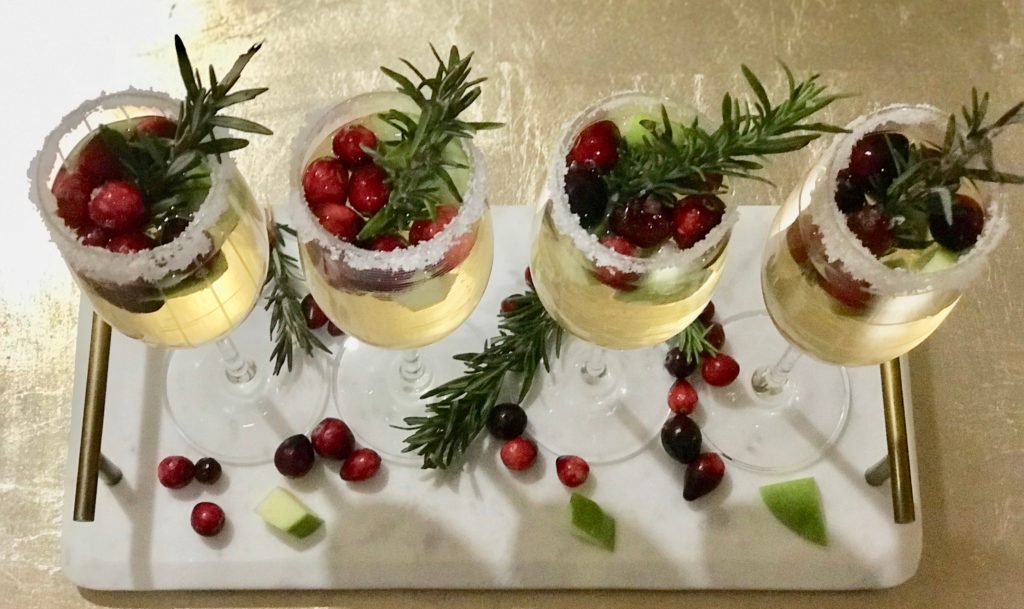
I LOVE sangria! If it is on the menu, I’m probably going to order it. The hubs and I had signature cocktails at our wedding and mine was a White Berry Sangria. It was so delicious! I still have people tell me how much they loved my signature cocktail! I love making delicious cocktails for dinner parties, but I really love making them around the holidays. There are just so many delicious flavors and fruits to incorporate and let’s be honest, they just look lovely on serving trays and bar carts. My favorite cocktail to make around the holidays is this apple and cranberry Christmas Sangria! It is so crisp and refreshing and is absolutely lovely in a champagne glass! It takes no time to make and will really impress all of your holiday guests!
Christmas Sangria Ingredients:
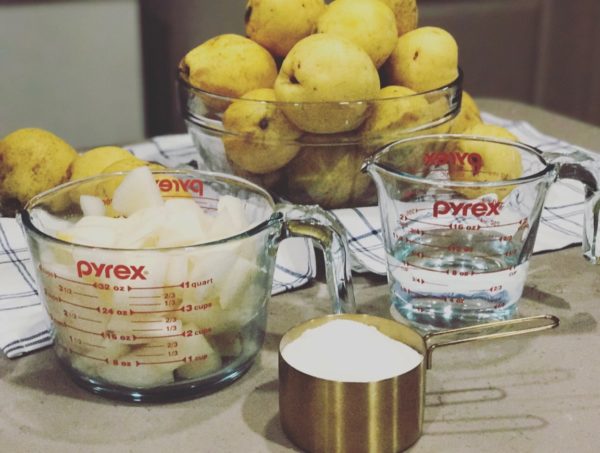
2 Green Apples; Chopped
2 Cups of Fresh Cranberries
½ Cup of Granulated Sugar
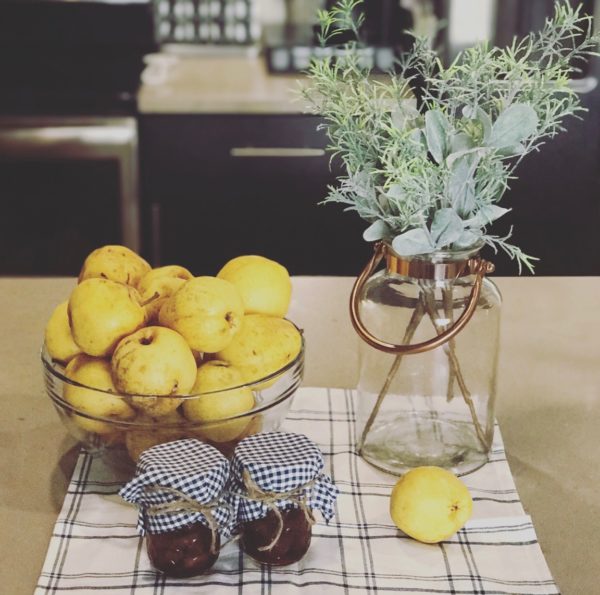
1 Bunch of Rosemary
1 Bottle of Moscato
1 Bottle of Sparkling Apple Cider
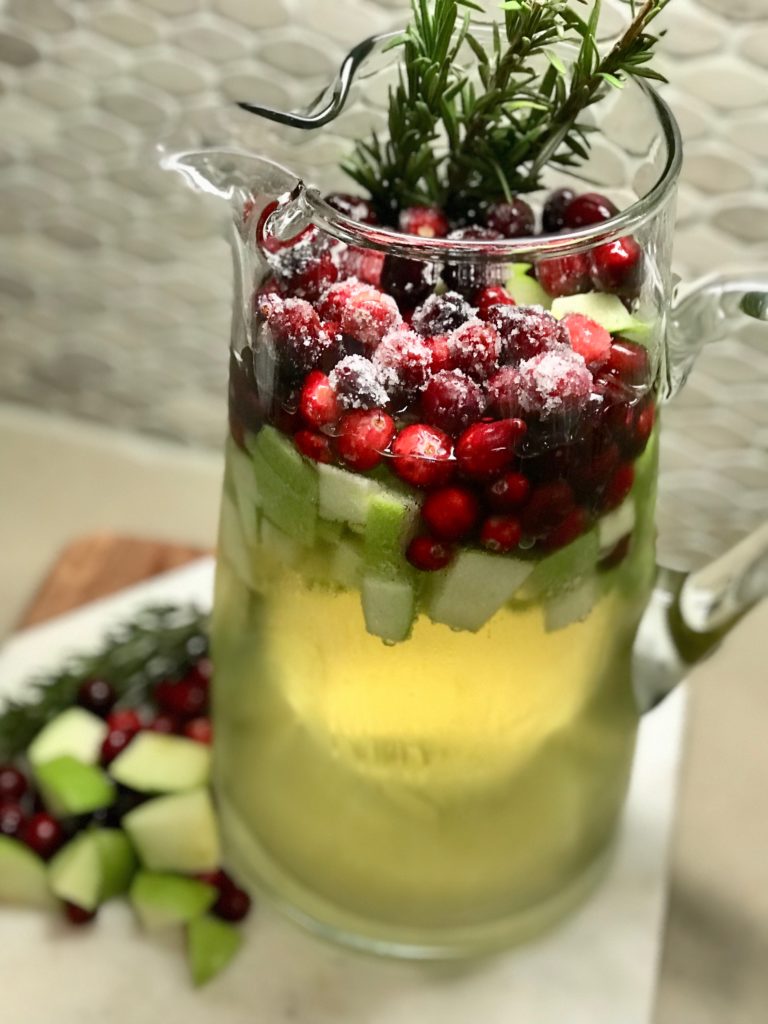
Chop both green apples into small pieces. Add all but a few of the pieces of green apple to the bottom of your drink pitcher. You will use the other pieces for garnish.
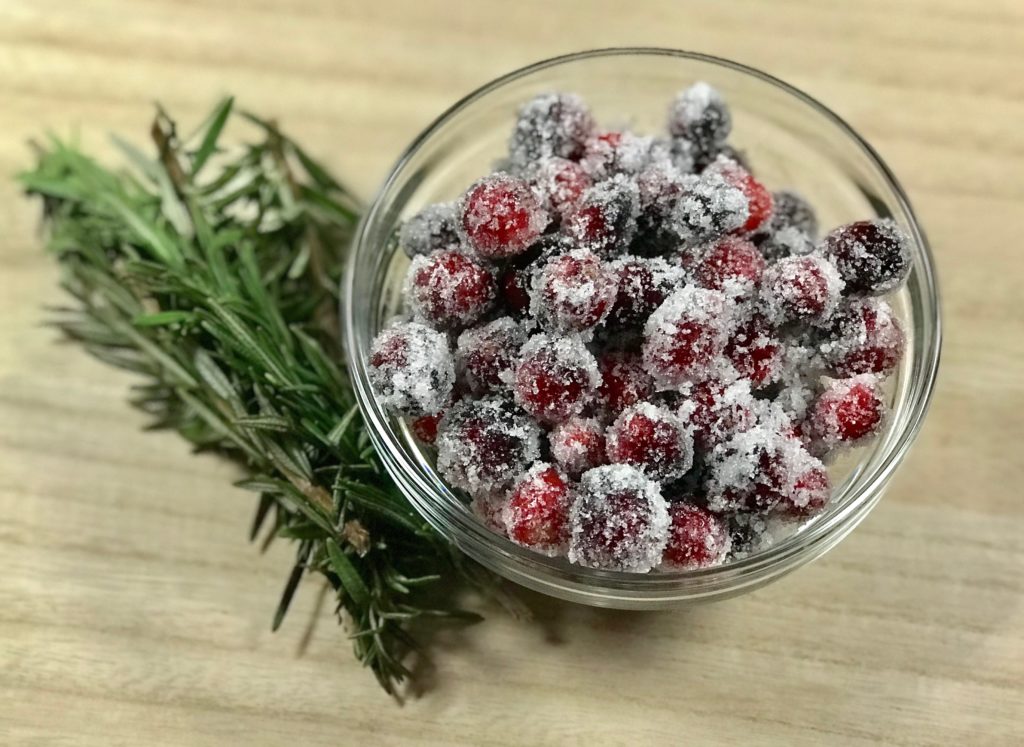
Rinse the cranberries in a colander and immediately roll a handful into the sugar. Set aside the sugared cranberries to use for the garnish.
Add all cranberries except the sugared cranberries to the pitcher.

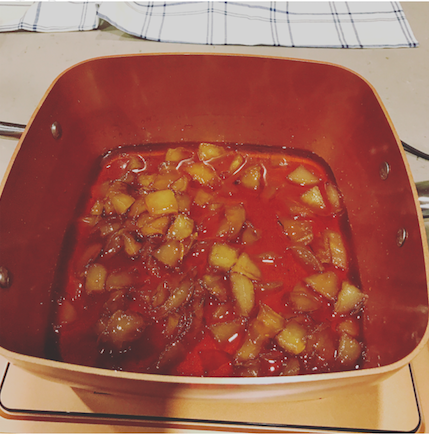
Use a muddler or wooden spoon to crush some of the fruit in the bottom of the pitcher. I crush just a few pieces of fruit, specifically the cranberries, to leave a nice flavor. I like to leave most of the fruit whole because it looks so lovely in the pitcher and in the glass.
Pour in the moscato and the sparkling apple cider. Add rosemary to the top to garnish.
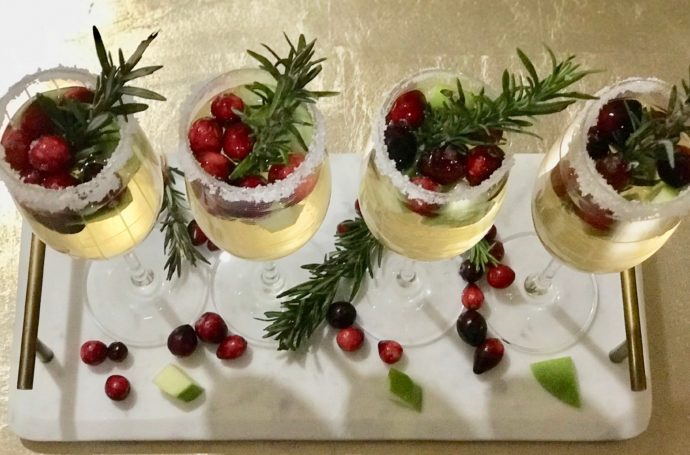
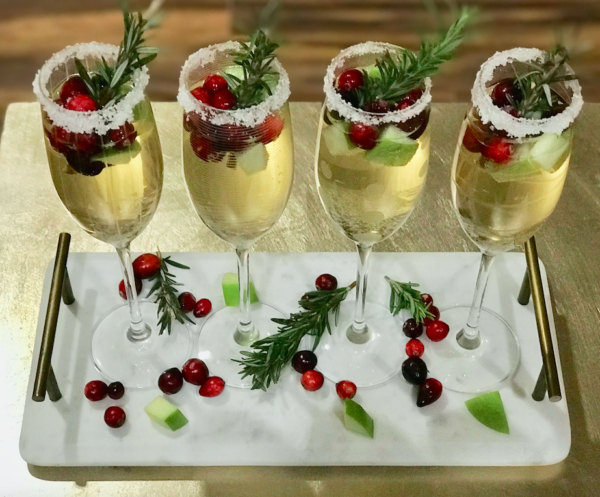
Wet the rim of your champagne flutes with a little bit of water and roll in granulated sugar and fill with the Christmas Sangria. Also, can we just take a moment to admire these beautiful Mikasa Cheers Champagne Flutes? I’m in love with this design! I have this design for all of my bar glasses and I love that each glass has its own unique design!
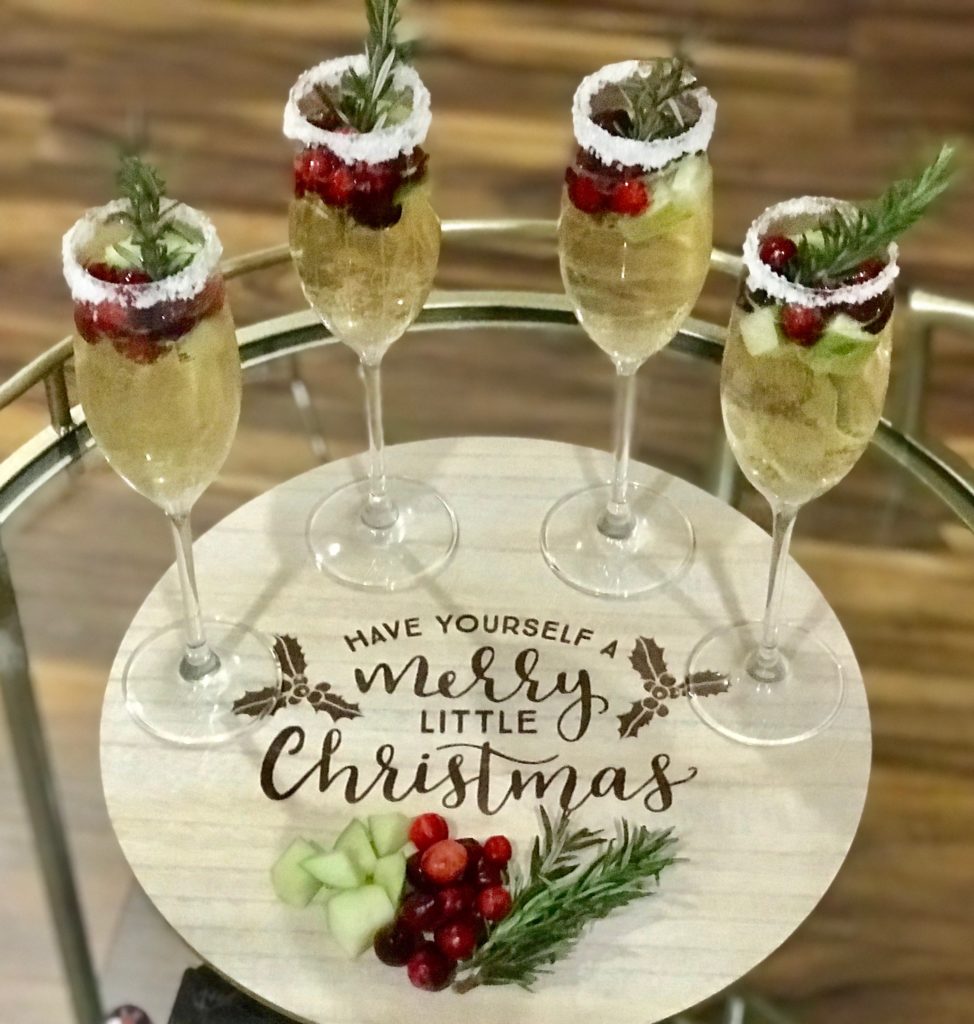
Add a few of the sugared cranberries and apple pieces to the top of the cocktail. Garnish each glass with one piece of rosemary and enjoy!

What’s your favorite holiday cocktail? I’m always looking for new recipes!
- 2 Green Apples; Chopped
- 2 Cups of Fresh Cranberries
- ½ Cup of Granulated Sugar
- 1 Bunch of Rosemary
- 1 Bottle of Moscato
- 1 Bottle of Sparkling Apple Cider
- Chop both green apples into small pieces. Add all but a few of the pieces of green apple to the bottom of your drink pitcher. You will use the other pieces for garnish.
- Rinse the cranberries in a colander and immediately roll a handful in sugar. Set aside the sugared cranberries to use for the garnish.
- Add all cranberries except the sugared cranberries to the pitcher.
- Use a muddler or wooden spoon to crush some of the fruit in the bottom of the pitcher.
- Pour in the moscato and the sparkling apple cider. Add rosemary to the top to garnish.
- Rim your champagne glasses with sugar and fill with the Christmas Sangria.
- Add a few of the she sugared cranberries and apple pieces to the top of cocktail. Garnish each glass with one piece of rosemary.
- Enjoy!


