
This post may contain affiliate links. Please read my disclosure policy for more information.
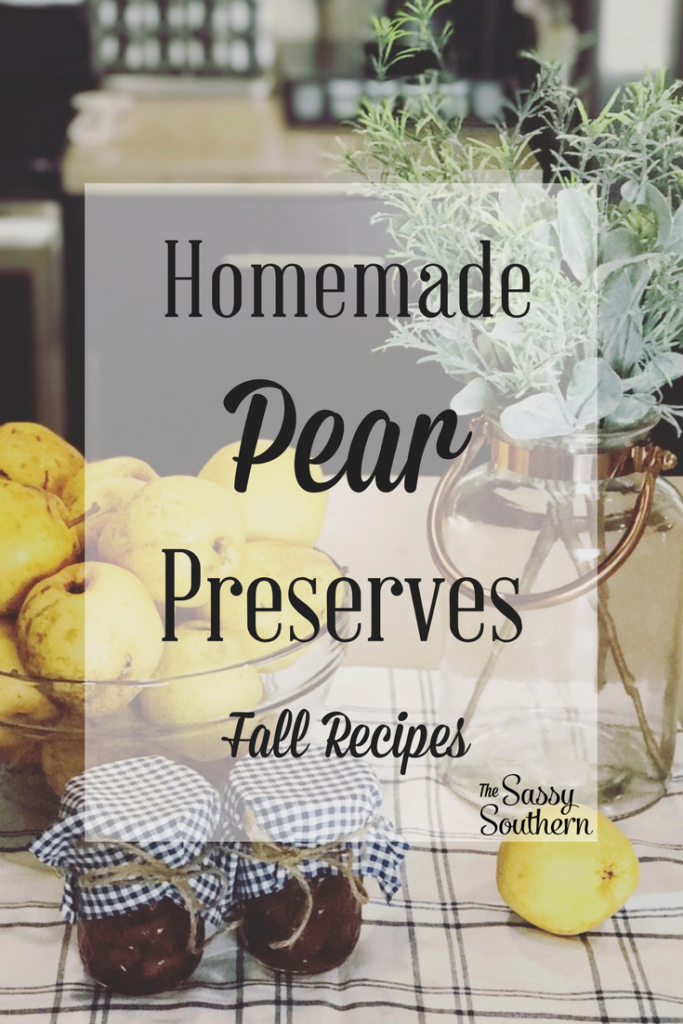
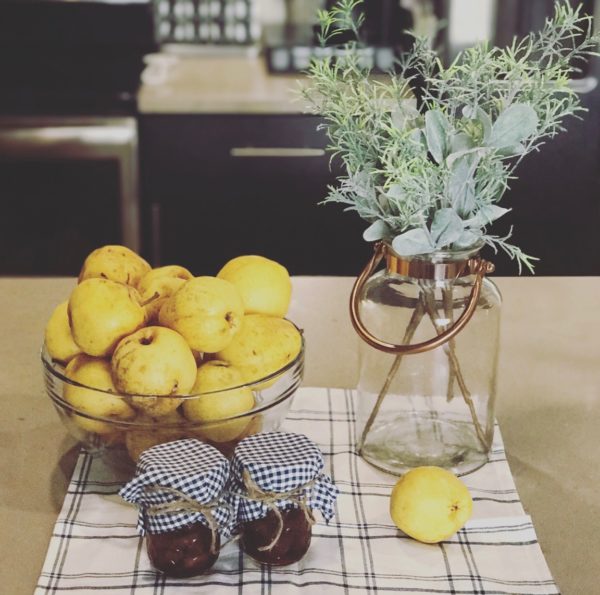
My grandma (lovingly known in our family as Nina) and my mom have been making homemade preserves since I was a little girl. Fig, pear, blackberry… you name it! Each time I spent the night at my Nina’s house, she would make her homemade biscuits and serve them with her homemade preserves. I would eat until I was stuffed! They were always so delicious! This past weekend, my husband and I spent the weekend at his parents’ house and they have a beautiful pear tree on their property. We left with a giant bag full of beautiful pears! There is no way that the two of us could possibly eat all of these before they went bad, so I decided to make a couple of jars of pear preserves! I made a smaller batch since it is just the two of us, but you can easily make are larger batch for more jars. They are delicious and make for adorable gifts! I’m super excited to share a jar with my mom and mother-in-law! This was my first try at making preserves by myself and I am pretty pleased with how they turned out! Ready to get started? Here is what you need for this tasty fall recipe:
Ingredients
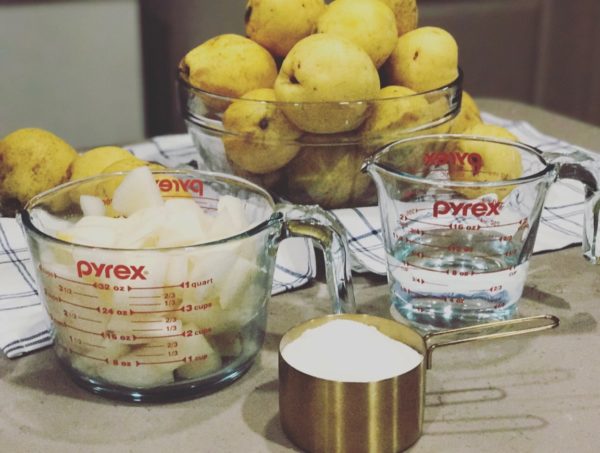
- 1 Cup of Sugar
- ½ Cup of Brown Sugar
- ½ Cup of Water
- 4 Cups of chopped or sliced pears
- Canning Jars With Lids
- Copper Chef
- Giant Stockpot
- Tongs
- Towel
Let’s Get Cooking!
It is time to prep your jars! I will admit I struggled with this part. As I was on the phone with my mom and my Nina, I kept having them tell me how to do this part over and over! I purchased a 12 pack of Kerr Regular Mouth Jars. I was nervous doing this on my own for the first time; so I used this guide to help me with the process of preparing the jars and processing the jars once I filled them with preserves! Before you can put the preserves in your jars, you must boil the jars and the lids. I didn’t purchase any special tools or a pressurizer; I just used a deep saucepot and tongs to handle the hot jars. I boiled the jars for the recommended amount of time in the guide above and kept them in the hot water until I was ready to fill them with the preserves.

Add your chopped pears and water to your Copper Chef and bring to a boil. The Copper Chef made such a difference! The Cerami-Tech Non-Stick Deep Dish Pan made it so much easier to let all of the gooey goodness simmer without sticking to the pan! I highly recommend purchasing a Copper Chef ! I wanted to make sure my pears were super soft, so I had the pears boil for about 10 minutes before adding the rest of my ingredients. Just watch this closely and stir occasionally.
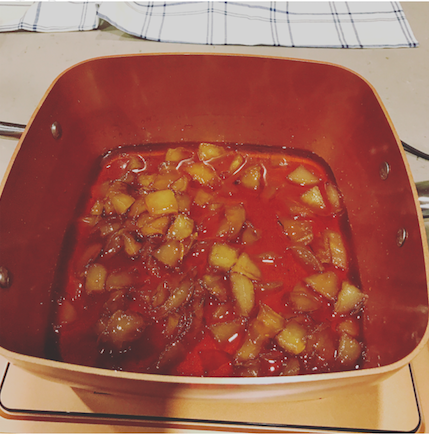
Add all sugar to the mixture and stir.
Leave uncovered and boil for 10 minutes. Bring heat down to a medium-low temperature and let simmer for 1 hour; stir occasionally.
Once your pears are soft and you have a thick consistency, add the pear preserves to your jars leaving about ¼ inch of space between the preserves and the lid. Your jars will be very hot! If you don’t have a cooling rack, I just used a pair of tongs to remove the jars from the pot of water and held them with a thick towel to fill them. If there are any air bubbles in the jar after you add your preserves, use a rubber spatula between the jar and the preserves to remove any air bubbles. Wipe off the edge of the jar and secure the lid on the jar. Repeat this step until all of your jars are filled.
Put your sealed jars back in the pot of hot water and make sure the water covers the jars completely. Bring the pot to a boil and boil the jars for 10 minutes. Turn off the heat and move the pot off of the burner and allow the jars to cool in the water. Once the jars have cooled, have them sit upright for about 12 hours. If your jars have properly sealed, the middle of the lid will not pop up and down. I was so nervous that I didn’t’ do this part correctly because if they don’t seal, there will be bacteria growth! The next day, I tried to lift the lid with my fingers and I couldn’t! This means I had a good seal. Again, since I didn’t have my mom or Nina with me, I was super nervous about this part, so I kept referring to this helpful guide from Ball and Kerr.
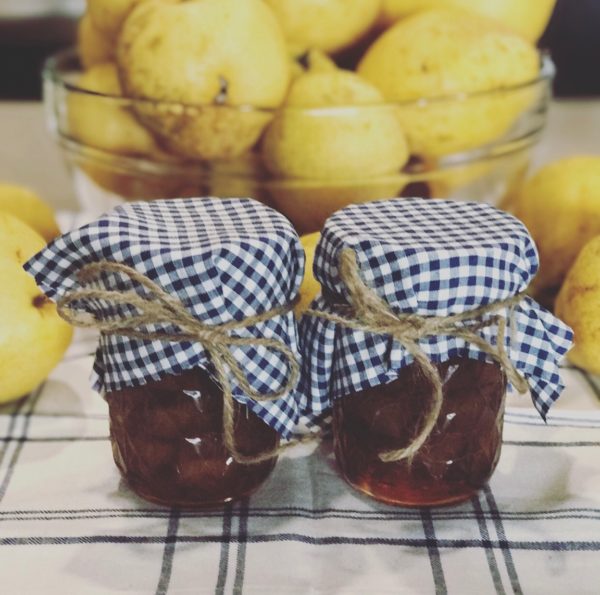
We decided to go ahead and open one of the jars the next day because they just looked so yummy! When we opened the jar, we heard the pop sound that lets you know it was properly sealed! Success! These pear preserves turned out so yummy and I was super proud that I didn’t destroy these yummy pears on my first try. They are perfect to serve with gourmet cheeses and artisan bread for a dinner party and they are delicious with biscuits and scones! I added fabric and twine to the top of two jars to give as fall gifts to our mommas! I hope you enjoy!

- 1 Cup of Sugar
- ½ Cup of Brown Sugar
- ½ Cup of Water
- 4 Cups of Chopped or Sliced Pears
- Prep Your Jars (Refer to link in blog on how to do this)
- Add your chopped pears and water to your Copper Chef and bring to a boil. Watch closely and stir occasionally.
- Add sugar to the mixture and stir.
- Leave uncovered and boil for 10 minutes.
- Bring heat down to a medium- low temperature and let simmer for 1 hour; stir occasionally.
- Add pear preserves to the jars.
- If there are any air bubbles in the jar after you add your preserves, use a rubber spatula between the jar and the preserves to remove any air bubbles.
- Wipe off the edge of the jar and secure the lid on the jar.
- Repeat this step until all of your preserves are in your jars.
- Boil and seal the jars to seal. Refer to link in blog post for this process.
- Enjoy!

2 comments
My mom always makes preserves for us. I’ve never attempted it on my own. I love your simple instructions and your photos are beautiful. The decorated jars are too cute!
Thank you so much, Mary! This was my first attempt and it was much easier than I thought it would be. =)